
It's Day 20 of...

Lydia Grace played with her new felt board in the car on Sunday--the one I made and posted yesterday. I wish I had taken a picture of her playing with it. She seemed to like it. They are simple to make and great for car trips. Here's the tutorial.
Supplies:
*Thin piece of wood or a small dry erase board (We'll call it the base of the felt board.)
*Felt
*Batting (It doesn't have to be very thick.)
*Fabric that coordinates with the felt
*Glue gun
*Sewing machine
*Basic sewing supplies (pins, thread, scissors...)
Directions:
1. Cut out one piece of felt that is the same size as the dry erase board or piece of wood and one piece of felt that is two inches longer on all sides.

2. Cut out a fabric piece that is the same size as the smaller piece of felt. Use your pinking shears to cut across the top of the fabric piece only a few inches down from the top. Sew the felt and fabric together by sewing around the entire perimeter of the felt. Once your have sewn the pieces together, cut around the outside with your pinking shears to give it look nicer. This will be the pocket for the back of the felt board.

3. Cut out a piece of batting that is the same size as the larger piece of felt and lay them on top of each other.

4. Lay the felt and batting face down. Center the base piece on top.

5. Glue the batting and then the felt over onto the base piece. Make sure you are pulling both layers tight before gluing them down. You will have to glue down one layer at a time and one side at a time. I did the two longer sides first and then the shorter sides. Do not worry about the corners yet.


6. Cut off any excess batting and felt before gluing the corners down. Get them to glue down as flat as possible. It's like wrapping a present. Don't worry if it looks messy--mine does. It will all be hidden by the back pocket piece.

7. Glue a piece of batting down in the open area at the back.

8. Use the hot glue gun to glue the back pocket piece on carefully.

9. Your felt cut-outs can be tucked away into the pocket.

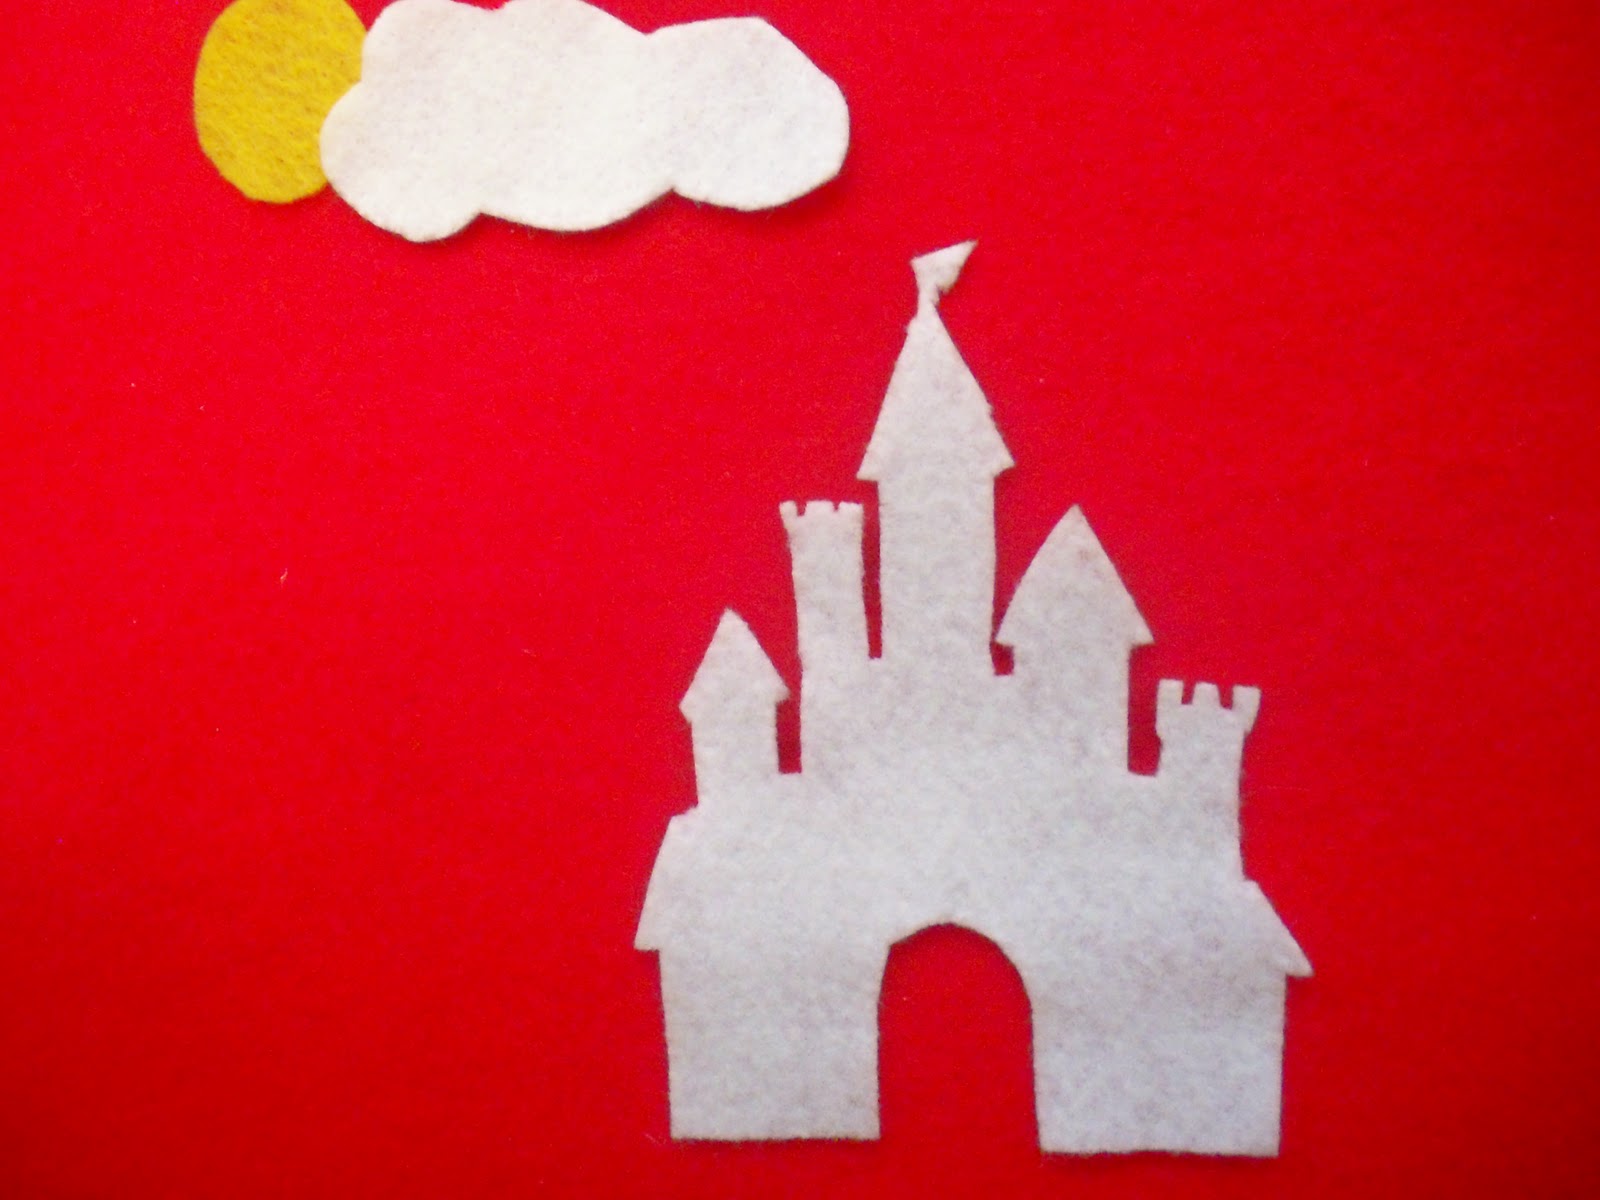
10. When it is time to play, place the cut-outs onto the front of the felt board.


Easy and fun!
This is sooo adorable! I need to make one of these for my Brownies! How fun.. Thanks for sharing with the Pink Hippo Party!
ReplyDeletethis is so cute! I found you at Love Stitched today and I am a new follower! tai @ taidye original
ReplyDeleteOh I was so excited to see you on love stitched! I have been meaning to respond to your heartfelt comment and been craaaazy busy! You have crazy mad skills girl and I love this felt board. Always wanted to make one and just have not don it. OK. this is turning into a book! Praying for your miracles yet to come...I truly am, friend! And why am I not following you yet? I am now!
ReplyDeleteHello! I found you at Pinkapotamus and I am loving your blog! I wanted to invite you to enter my $50 American Express giveaway and my link party that are both going on this week! Keep up the great blogging! -Dana
ReplyDeletehttp://danajeanward.blogspot.com/2010/12/50-american-express-giveaway-ends.html
Hi Jennifer! I just found your blog and LOVE,LOVE,LOVE it! I can't wait to try so many of your crafts. Thank-you so much for sharing your creativity. PS That little girl is precious!!
ReplyDeleteThat is so cute. I think I'll make one for my children! Great thing to play with in the car!
ReplyDeleteMianda, Just Drink a Coke.
www.justdrinkacoke.blogspot.com
Hi Jenn! Love this felt board! Could you share this on my Tell Me Tuesday Link Party on Vintage Pollyanna?
ReplyDeletehttp://vintagepollyanna.blogspot.com/2010/12/tell-me-tuesday-7.html
Great tutorial. My son has a flannel/felt wall hanging in his room. I am currently working on more pieces for it. I loved them when I was a kid, so I thought it would be a cool thing for him to have.
ReplyDeleteGreat tutorial. I think this is a great sensory activity...need to do this for my sons...
ReplyDeleteIf you have a moment, please link this up to Creative Juice Thursday...I think my readers would love it!
<3
Nicolette @
http://momnivoresdilemma.blogspot.com/2010/12/creative-juice-thursday-5-features-and.html
Check out Tell Me Tuesday tomorrow, I have featured you as a Fave!
ReplyDelete